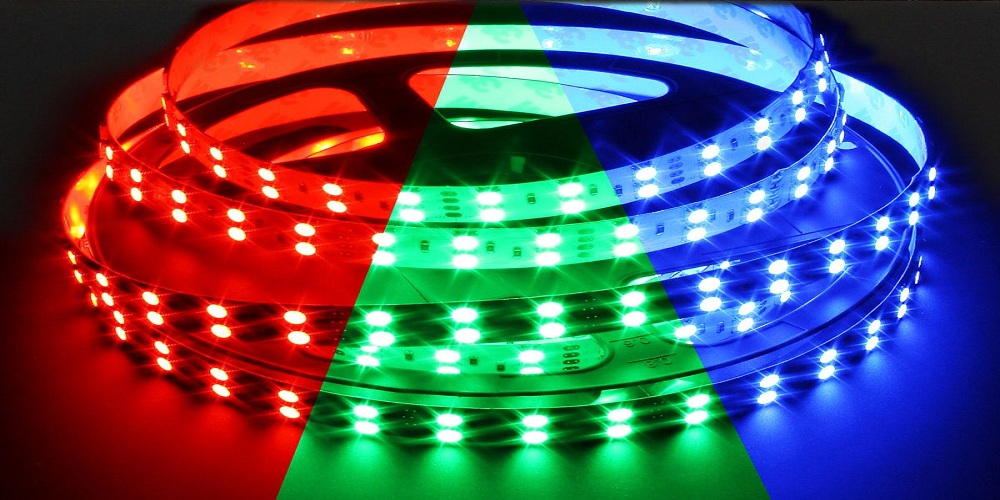
LED strip lights are flexible elongated circuit boards. The complete board is covered with surface-mounted LEDs that spark with electricity. Usually, these boards are attached to the surfaces through adhesive tapes.
These lights are available in multiple colors and are extensively used for indoor and outdoor uses. However, these lights need water protection for the outdoors and many other places, like swimming pools, bathrooms, and kitchens.
Now you might be thinking about how to waterproof your strips? The waterproof RGB LED strips are available in the market but are a bit more expensive than simple ones.
But worry not about the price because you can also do it yourself at a lesser cost. Here we will explain the method of making the strips waterproof and a few related terms that you need to know.
If you are interested in learning this new skill, keep reading!
IP Rating and Its Relation with LED Strips Waterproofing
The term IP rating means ingress protection. IP rating defines the LED strip lights' waterproofing level. Its three levels are non, semi, and completely waterproof. This term also determines the tolerance level of strips against dust, dirt, and other particles.
The IP mark on strips consists of two numbers (IP67); the first shows the solid particles' protection level, and the second indicates the liquid protection level.
For example, IP68 shows strong water and particle protection than IP65, semi-waterproof.
At Which Places are Waterproof LED Strips Needed?
These strips are recommended for;
- Outdoor
- Floors
- Fishtanks
- Swimming pool
- Bathtubs
- Kitchen (near the sink)
Materials Used for Waterproofing
There are three most commonly used materials that you can use for this task;
- Silicone spray or glue
- Heat shrink tube
- Polyurethane (PU) glue.
- Epoxy resin
Regardless of the high cost, silicone glue is the highly favored material used in this process as it remains functional for a very long time. The silicone glue has some great features;
- Eco-friendly
- Nontoxic
- Resistant against both low and high-temperature ranges (-45° – 245°C)
- No yellowing problem
- Excellent light transmission capacity
All the other materials didn't provide as many benefits as the silicone. You might find those options cost-effective, but they'll lose their quality.
You can use silicone in different ways;
- Strip wrapping with hollow silicone casting
- Use as a cap to cover the end while wrapping the whole strip in a heat-shrinkable tube
- Use silicone spray to make a thin layer on strips
Things to Remember While Using Waterproof LED Strips
- The use and installation of both waterproof and non-waterproof strips are pretty similar. Still, a few simple things will help you use these specified strips.
- The sealing and linking process of waterproof strip lights are tricky. Hiring a professional for this task is better than damaging and wasting the whole strip.
- The attachment of connectors with strips is the same as in normal strips. You don’t need to cover the connector with waterproofing agents.
Final Verdict
The waterproofing process of LED strip lights might seem to be costly, but it’s a long-term investment. If you are interested in doing this process yourself, this guide will surely be enough for you to understand the process.